I’d been curious about the GoPro for awhile now, and thought what better time to get my hands on one and take it out around town than in summer, as this tiny, powerful video camera lends itself perfectly to outdoor concerts, sports, and action of all kinds.
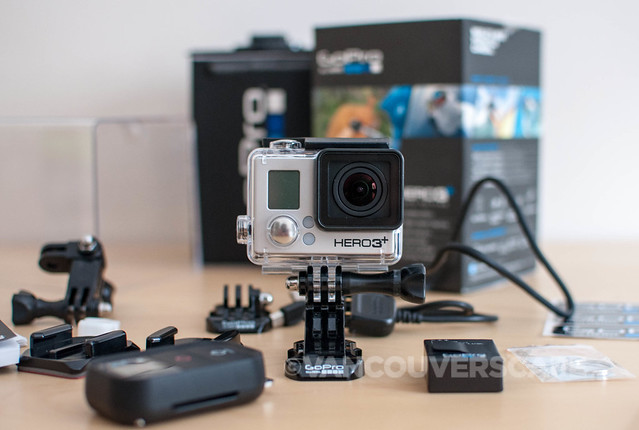
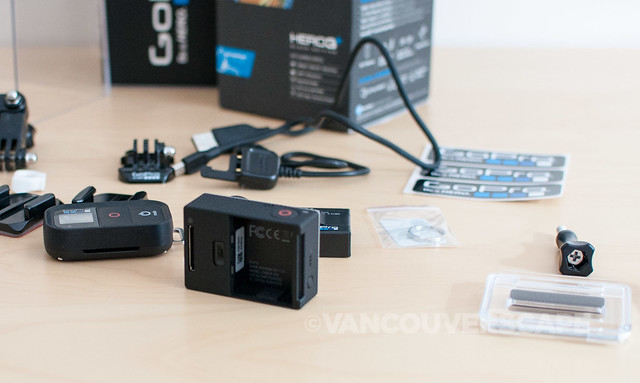
Unboxing the GoPro Hero3+ revealed a base plate (don’t throw it away, it can be used with a mount!) with the camera attached to it, plus several mounts, screws, two housing back doors (everyday, underwater up to 131 feet/40 meters), cables, a battery and a wifi remote.
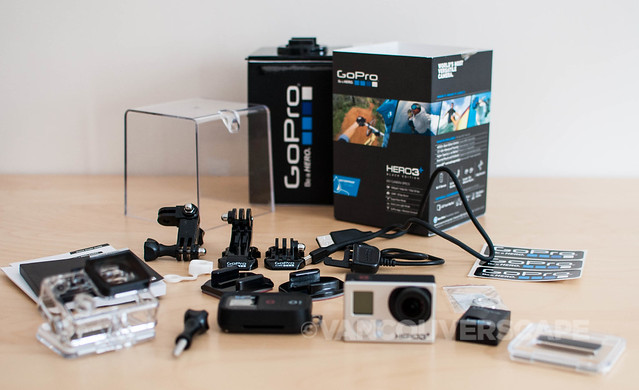
[GoPro Hero3+ Black, unboxed]
As this is my first GoPro, I can’t compare it to older models, but what this camera DOES have going for it is a 20% reduction in size and weight, 30% longer battery life, 4x faster WiFi, sharper lens, improved image quality, and SuperView, a new shooting mode that captures the ultimate in wide angle perspective.
Once I charged up the battery (via the supplied mini USB port to my laptop) and went through the camera settings, I noticed Auto Low Light and a full range of resolution options (right up to 4k, aka cinema-quality capture). There are only three buttons on the GoPro Hero3+: Power/Mode, Shutter/Select, and WiFi.
The user manual measures a mere 3 1/2” square, making it easy to port along with your camera, mounts, and accessories.
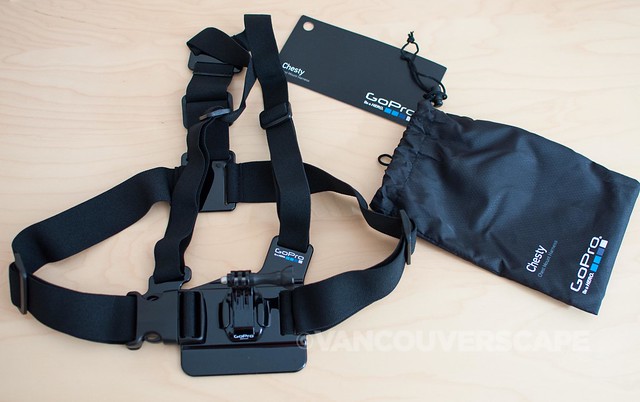
Speaking of mounts, I also received a Chesty and a Floaty, two must-have options for taking the GoPro out on the water. The Chesty is adjustable and clips around your chest, with the mount facing forward. Think SUP, kayaking, fishing, skiing, cycling, waterskiing.
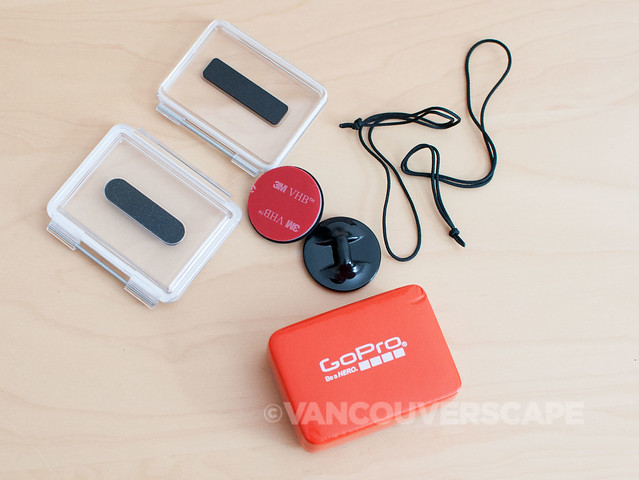
The Floaty is a bright orange life raft for your GoPro and attaches with a strong adhesive to the back of a GoPro underwater (watertight) housing, so if you accidentally drop the camera into the water, it won’t sink to the bottom.

I read through the manual and then began to play around with taking still photos as well as video. What’s great about the GoPro is its community: you can find just about any tutorial you’re looking for either on YouTube or on the GoPro site itself. There are some great DIY videos out there too. Here’s one that offers handy mounting tips and tricks. This one’s for beginners — I’m glad to have found it when I unboxed the camera. As mentioned earlier, I’m definitely not the first person to use a GoPro, so the more visual instruction I can get my hands on, the better.
[GoPro’s battery compartment]
A camera without a viewfinder takes some getting used to. There are two options here: download and use the free GoPro app (for iPhone, iPad, Samsung Galaxy S4, Android) that offers live preview, or purchase the BacPac, that adds a removable LCD touch screen viewfinder to the rear of the GoPro.
Other handy features of the GoPro app:
– Smartphone or tablet serves as a remote control for the GoPro
– Adjust camera settings, start/stop recording, switch modes, check battery level
– Copy photos and videos to your device, then share via email, text, Instagram, Facebook, etc.
– View photos and play back videos
– Wirelessly update HERO3+ camera software
– Wirelessly update your camera Wi-Fi network name and password
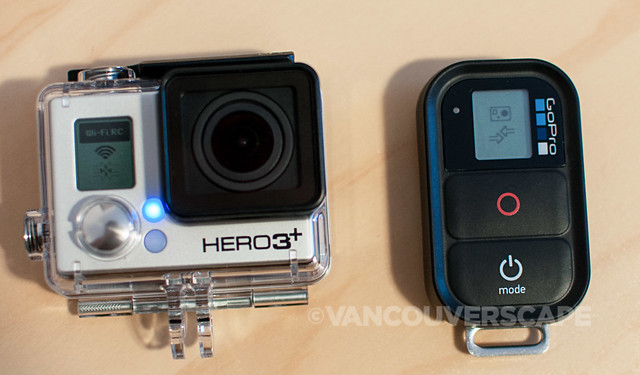
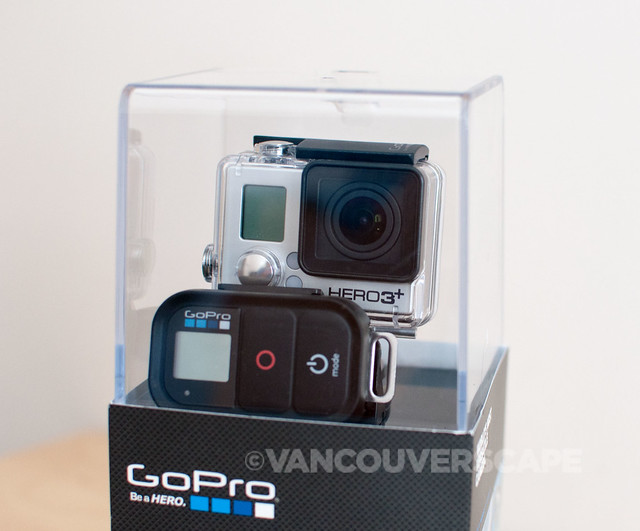
[Pairing the GoPro with the Wifi Remote]
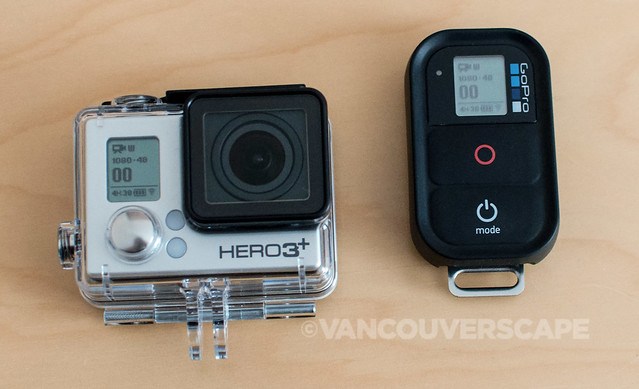
[GoPro Hero3+ camera and WiFi remote paired; remote can now control the camera]
In addition to videos, the GoPro will take 12MP photos as well as burst photos (at rates of 3 photos/1 second, 5 photos/1 second, 10 photos/1 second, 10 photos/2 seconds, 30 photos/1 second, 30 photos/2 seconds, 30 photos/3 seconds). Time lapse videos can be created in 0.5, 1, 2, 5, 10, 30, and 60-second intervals.

[12 MP photo from a time-lapse sequence, Jericho Beach]
You can also set up the camera to take photos at 5, 10, 30, and 60-second intervals while the video is recording (via the Capture Settings menu).
GoPro’s Protune video mode lets you capture high-quality videos with less compression, more flexibility during post-production colour correction, and White Balance adjustments.
Editing Software
GoPro Studio software 2.0.1 has an easy-to-follow tutorial to get you up and running with your video clips. Once the clips have been processed, the screen moves to an import and convert area, where GoPro templates are available for using (you can also create a template from scratch).
I decided to delve right into the software using five clips I took at an event in town. After my first experience straight through to importing (not too difficult a process), I read through the user manual before trying another edit.

[The GoPro Studio editing environment]
Once the clips have been brought into the editing environment, you can add contrast, increase exposure, sharpness, and saturation, and add effects to each clip individually through presets (i.e. Sepia, Night Vision, Protune, Vignettes). Titles and transitions are pretty easy to do, and the manual does a decent job of explaining the steps needed to either export your video ready for Vimeo, YouTube, mobile devices, HD, or custom format, or continue editing in iMovie or Final Cut Pro. You can also export still images in .jpg format.
Cooler still, advanced features prep the video in GoPro CineForm for viewing with 3D glasses.
There are a multitude of accessories out there, both made by GoPro as well as by third parties. My next review will showcase a handful of essential GoPro accessories to take on the road.

This may be a tiny little camera, but don’t be fooled: it takes some excellent quality videos! Just remember that it needs to be manually turned off (as well as the WiFi on both camera and remote).
I noticed that the battery takes about two hours to charge from completely empty to full.
One Thing I’d Love to See
A heads up to the GoPro development team: it would be great to have a 40% volume option for the beep indicator control (on, off, recording beeps) in addition to the current 100%, 70%, or off entirely. I think 40 is the perfect volume, just loud enough to know you’ve chosen the right setting (or have started recording), yet not loud enough to disturb anyone (particularly during gatherings where there are interviews taking place).
And now, I feel ready to share with you a couple of video edits, because after all, this IS a video camera! Here’s a video by land:
and one by sea:
The GoPro Hero+ Black edition includes a one-year warranty and retails for US $399.99. In Canada, I noticed it online at London Drugs for $479.99.