Here’s part two in a series of three reviews covering the latest features in the “big three” CS5 Design Premium programs: Photoshop, InDesign, and Illustrator.
Multiple Page Sizes
Multiple page sizes is great for keeping a series of different size elements (e.g. a brand identity package) within the same InDesign document. It’s great for creating book spines as well. Pages of varying sizes can also be based on the same Master Page, by selecting Show Master Page Overlay and then repositioning the artwork to where you’d like it to be on the new page.
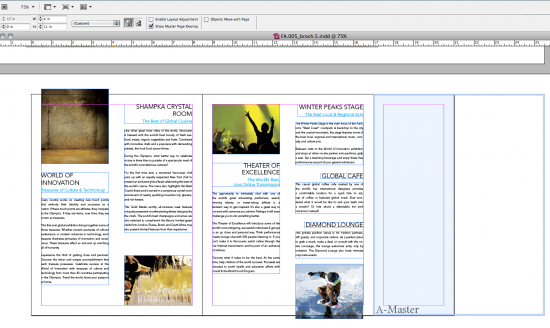
You create a new page at its existing size. Turning off Allow pages to shuffle will bring the new page to the right of the existing page(s). Select the new Page Tool (third icon from top). Clicking on the new page with the Page Tool selected in the layout turns it blue, bringing up a new set of features to the control panel at top, allowing you to adjust the new page accordingly.
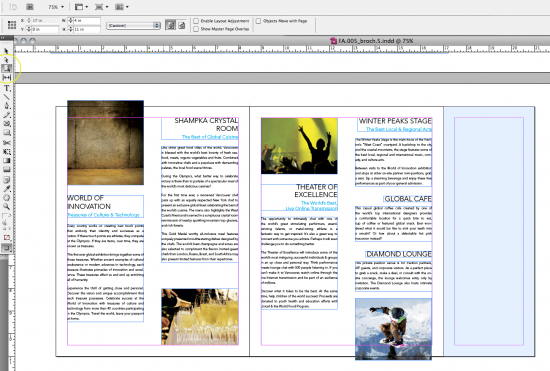
Keep the nine point reference icon in mind when resizing the new page. The size will change according to the reference point chosen.
![]()
What happens if you’ve already created a layout but want to change its dimensions and move elements accordingly?
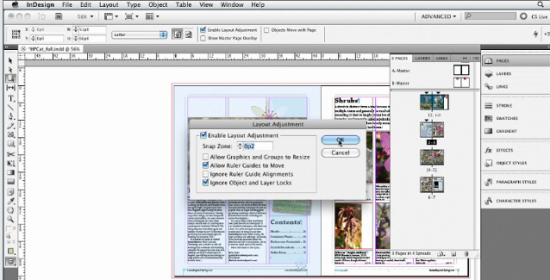
The Layout Adjustment icon (also to be found under the Layout Menu) comes to the rescue. You can control what happens during the resize (e.g. whether the graphics will resize or the ruler guides will move), in order to keep things the way you like them after the page resize.
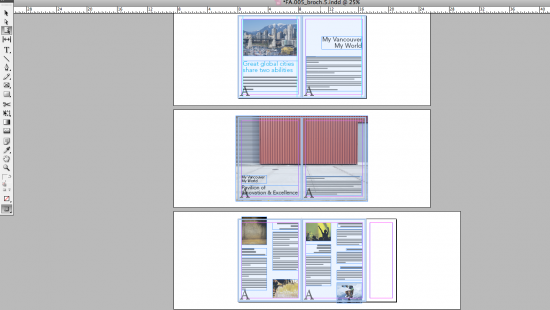
Not only can a single page be resized with CS5, but you can also resize several pages at once by holding down their icons in a reduced view mode.
Span Columns
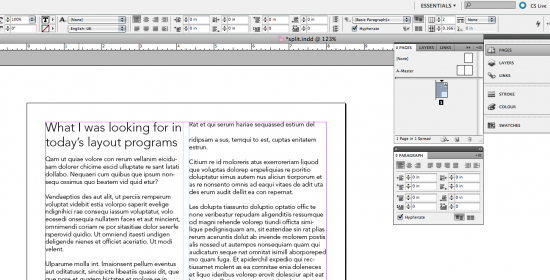
InDesign CS5 now offers a way to take a column of text and span it across one or more columns. Lines of text will be horizontally distributed across all columns, allowing dynamic control when increasing or decreasing the number of frame columns.
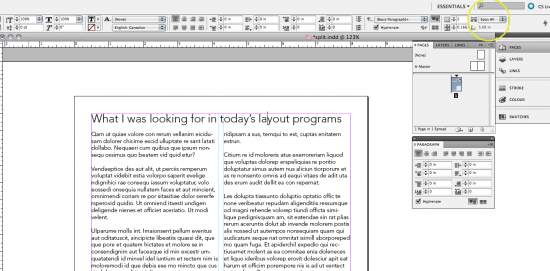
Splitting Text
You can now take a one column text box and split it into two or more columns.
Gap Tool
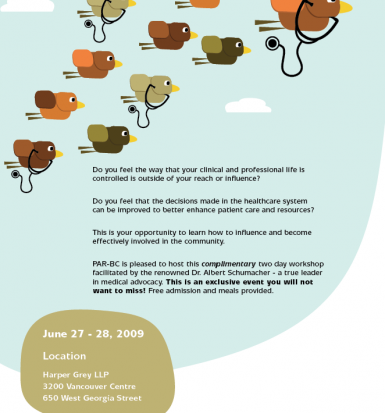
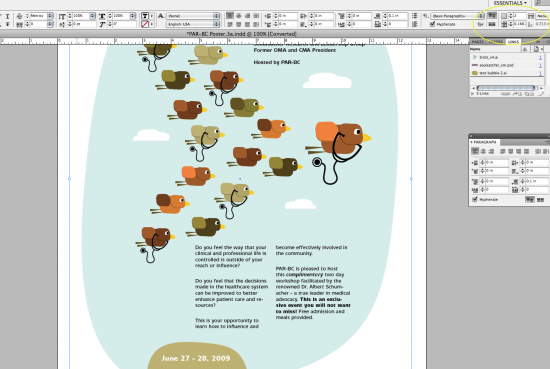
This tool allows you measure the gap between two objects, either an object or a text frame. By hovering over any gap with this new tool active, you’ll see the gap’s height or width displayed (via the Smart Dimensions feature). You can change the Gap tool’s behavior by using one of the modifier keys. A great feature of this tool is being able to change the gap between object frames inside of text frames, so that one or more images in different areas of the page can be moved to the left or the right within the text.

Elements can be resized within documents to create interesting new layouts.
Auto-Fit, a new option in the Frame Options menu, allows you to select an image to automatically rescale or crop when its frame size is changed.
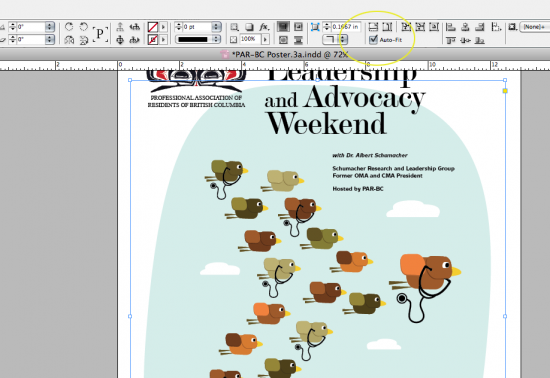
Auto-Fit will maintain the position of the image based on its current location while resizing the frame, adapting to the new size while you change the frame. No more holding down keys to automatically proportionally scale an image and its frame size at the same time.
As for InDesign and Flash integration, the good news is that video files (FLV) and MP3 audio files can be imported into the program. Interactive PDF documents can be created that include both video and sound.
Interactive elements can be built into an InDesign file and exported to Flash (SWF file format) for further editing/enhancing/animating.
In addition to these new features, a very handy new component of version CS5 is the ability to take a page layout and save that same layout in ePUB (eBook Reader) format for the iPad, complete with hyperlinks.
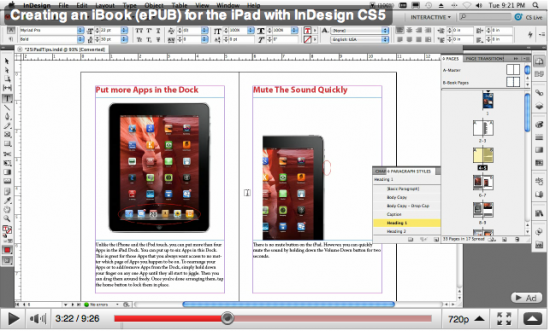
Just make certain that those URLs aren’t too long by using a URL shortener such as Bit.ly. Thanks to Terry White for this tip and the screen shot above. His excellent InDesign iPad tutorial can also found here.
And Finally, That Donut Icon
The “donut” found by hovering over graphic frames in CS5 is actually the Content Grabber tool, allowing the repositioning of images without first having to select them. It’s a one-click operation that makes the old days of selecting an object, then having to double-click for the Direct Selection tool a thing of the past.

